
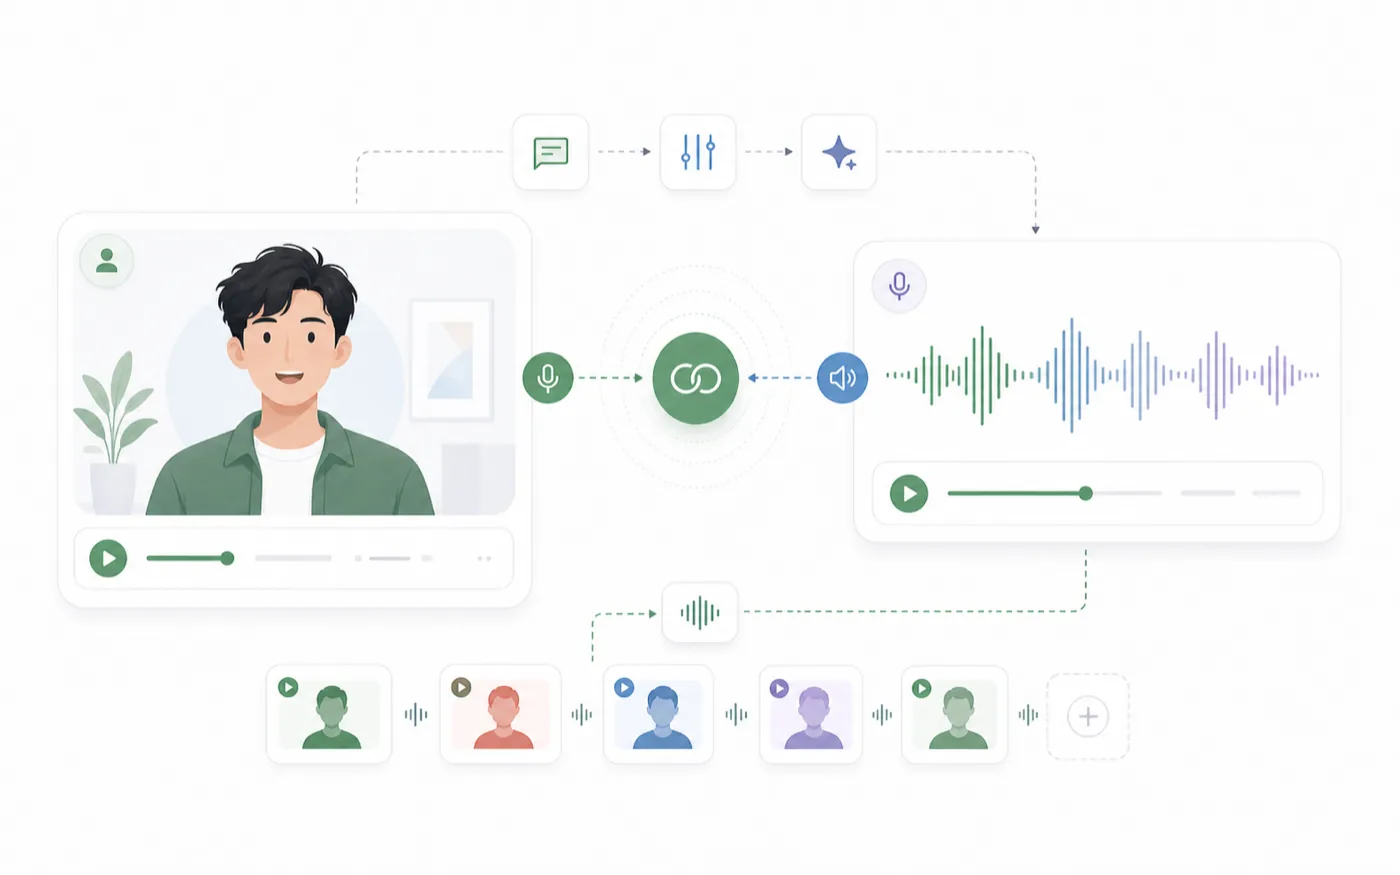
Talking avatar production works best when the voice comes first. A strong voice performance gives the avatar timing, emotion, and rhythm to follow. The image matters too, but the final video usually feels better when the audio has already been shaped.
RoleTTS connects voice creation and avatar output so you can move from script to speech to lip-synced video without rebuilding the same context in a separate tool.

Build the Voice Before You Build the Avatar
Start with the script and voice. If the audio is flat, the avatar will feel flat even if the image is beautiful. If the audio has clear pacing and emotion, the video has a stronger base.
You can generate speech with AI Text to Speech, design a new voice with AI Voice Design, or use a saved voice from the AI Voice Library.
Keep the Script Video-Friendly
Talking avatars work well with concise lines. Break long explanations into shorter sections so the avatar has natural rhythm and the viewer has time to follow.
If the video is for a product walkthrough, keep each clip focused on one idea. If it is for a character scene, separate emotional beats into shorter lines.
Choose an Avatar Image That Matches the Voice
The avatar image should support the same role as the voice. A calm narrator voice needs a different visual presence than a high-energy creator voice.
Use a clear portrait or character image with a face that can be read easily. Avoid images where the face is too small, heavily covered, or visually confusing.
![]()
Check the Match Before Export
Before exporting, ask whether the voice and image feel like the same person or character:
- Does the expression fit the tone?
- Does the visual age or style fit the voice?
- Does the line length feel natural for the avatar?
- Would the clip still work without extra explanation?
Review Lip Sync and Pacing
Lip sync quality is easier to judge when the script is clean and the audio is not rushed. Watch the mouth movement, but also watch the whole performance. A video can have accurate lip sync and still feel wrong if the voice pacing does not match the visual character.
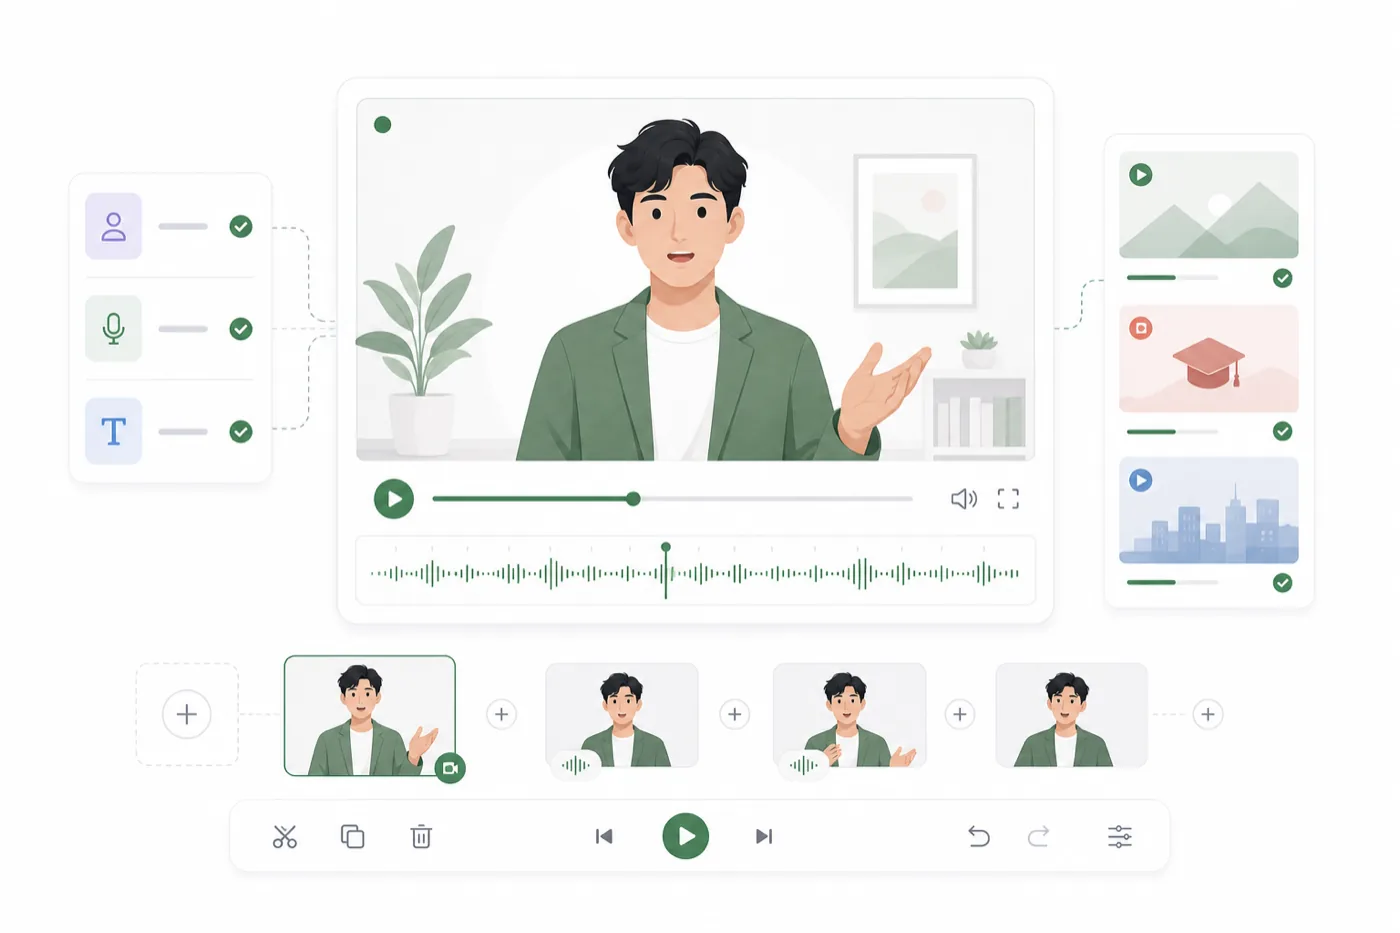
Use the Talking Avatar workflow after the voice is ready, then review the generated video before exporting.
Export Clips That Fit the Channel
Different channels need different pacing. A short social clip should start quickly. A tutorial clip can breathe more. A character dialogue clip may need smaller emotional beats and cleaner cuts.
Keep your best voice and avatar pairings together so future videos can reuse the same identity. That consistency is what makes a talking avatar feel like a real content asset instead of a one-time effect.
Talking Avatar Checklist
Before exporting, check the production flow:
- The script is split into video-friendly sections.
- The voice performance already sounds usable.
- The avatar image clearly shows the face or character.
- The voice and image feel like the same role.
- Lip sync and pacing have been reviewed together.
- The exported clip fits the channel where it will be published.
Talking avatars are strongest when they are built like voice-led video. Get the performance right first, then let the visual character carry that performance on screen.